Less counting.More clarity.
Turn construction drawings into measured quantities, material assignments, and a bill you can trace. With your judgement in every step.
Start with a drawing Product tour ↗PDF, JPG & PNG · Up to 50 MB per file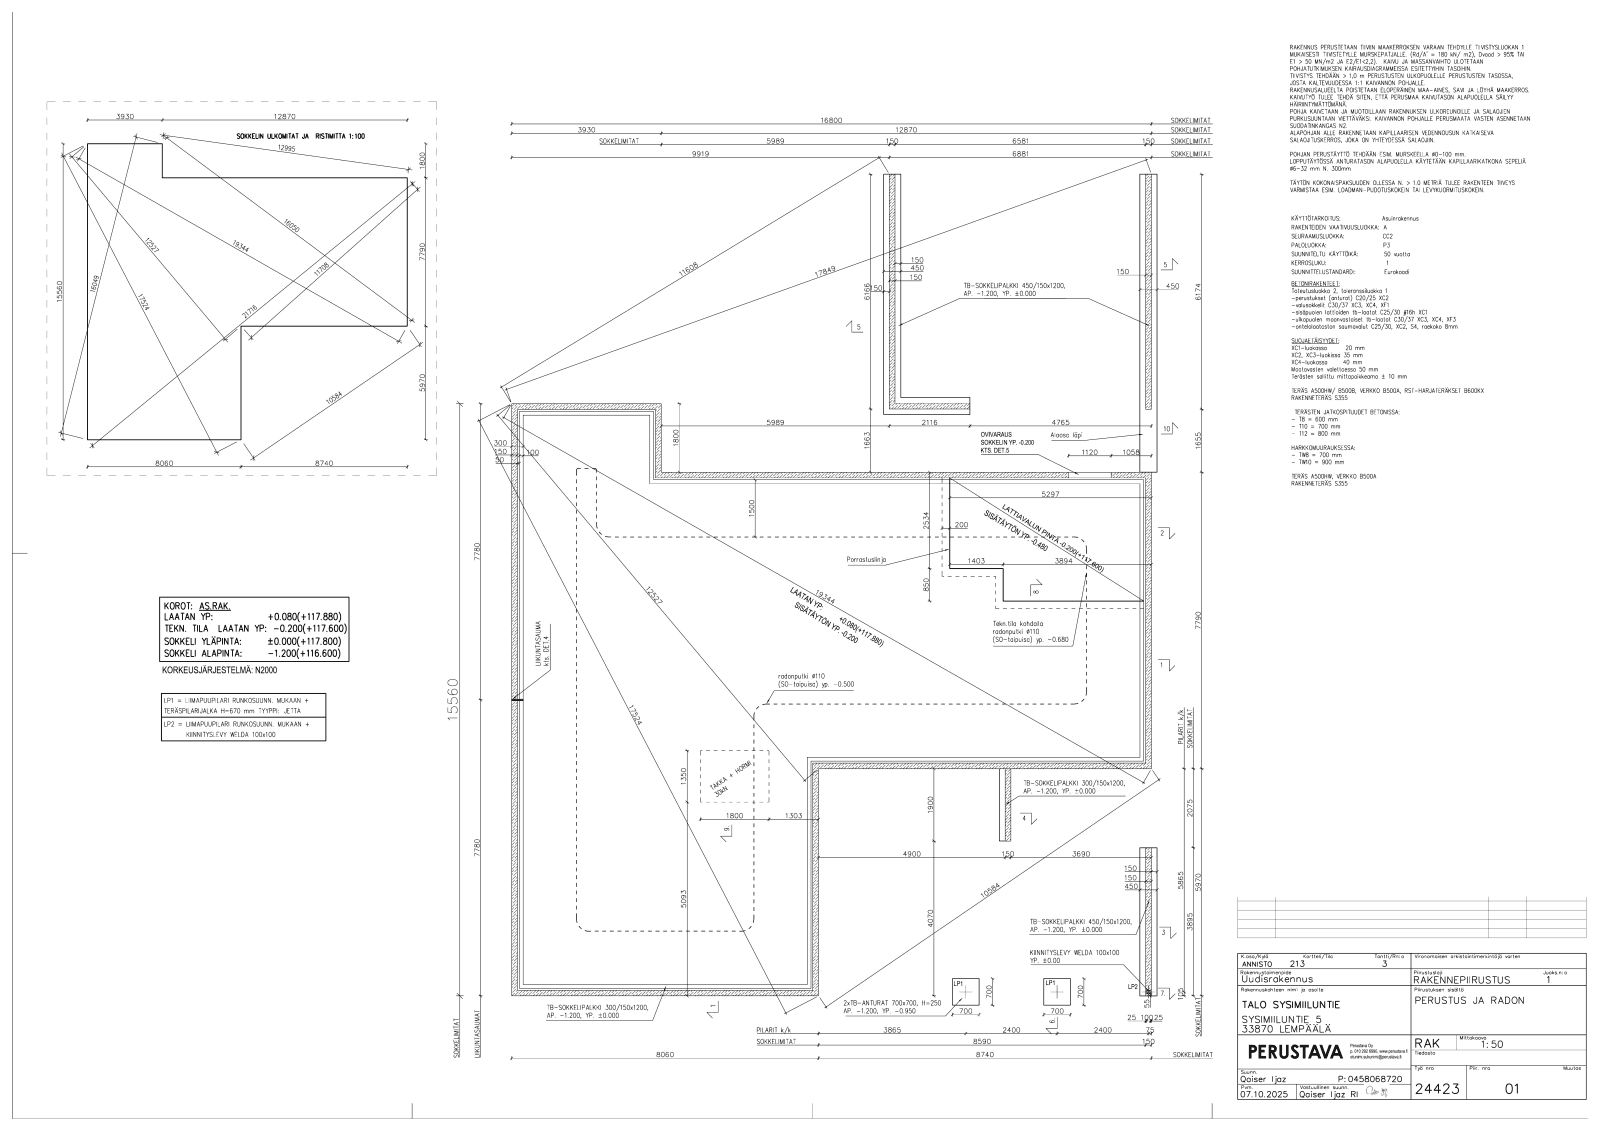
A little less busywork.A lot more oversight.
Your drawings stay at the centre. Bring in the sheets, check the scale, and build a takeoff you can trace back to the source.
- 01
Bring your drawings.
Upload a drawing set. Move between sheets without losing the measurements that belong to each one.
- 02
Make it measurable.
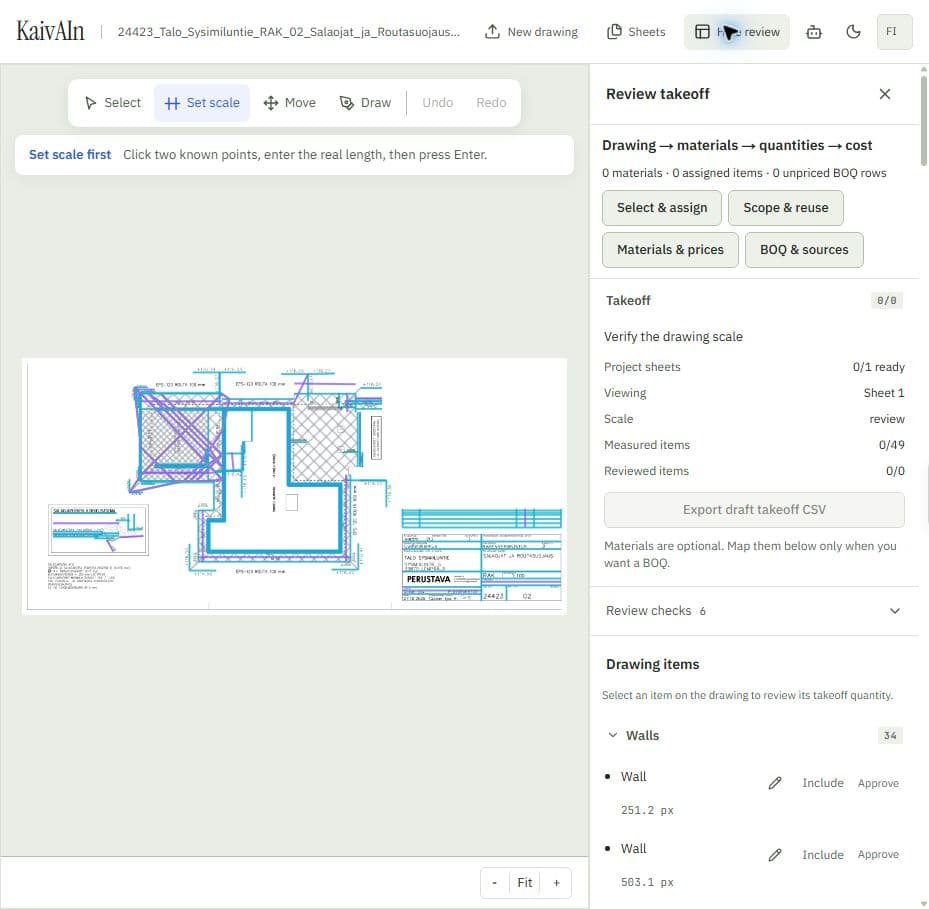
Verify the scale against a known distance. Inspect detected items or draw your own length and area measurements.
- 03
Review. Then take off.
Include what you need, check the evidence, and approve the quantities. Export a draft or a trusted takeoff when it is ready.
A place for the drawing.
And the decisions around it.
Move from source sheet to material assignment to bill. Keep the evidence close enough to check.
Keep the drawing in sight.
Open sheets and takeoff review independently. Check scale, inspect an item, and keep its source in view.
A second pair of eyes.You keep the final say.
Detected geometry is a starting point. Every item stays open to your review, and every quantity keeps its connection to the drawing.
Unverified items stay provisional. Materials and BOQ are there when you need them.
Explore the workspaceAn area. A depth.
A material. A cost.
A quantity becomes useful when its basis is clear. Assign materials to measured items, enter explicit depth where volume is needed, and add rates with compatible units.
Keep unpriced rows visible. Follow the BOQ back to the drawing items behind it. Export when you can explain what the numbers mean.
Explore materials and BOQ ↗Different roles.
The same source of truth.
01Build the takeoff
Start with a drawing, establish the scale, and make the scope explicit.
02Review the numbers
Inspect geometry, inclusion, and approval with the source sheet in view.
03Prepare the bill
Connect measured quantities to materials, rates, and a traceable BOQ.
What drawings can I bring?
Upload PDF, JPG, or PNG files, up to 50 MB per file. Establish each sheet's scale against a known distance before measuring.
Can I work without automatic detections?
Yes. Use manual length and area drawing tools to build a takeoff from your own reading of the sheet.
Does the workspace approve quantities for me?
No. You review scale, geometry, inclusion, and item approvals. Unverified work stays provisional; trusted exports require the relevant review gates.
Do I need to price everything?
No. Start with a measured takeoff. Materials and BOQ are there when you need them. Missing rates remain visible as unpriced work.
Where should I start?
Bring one clear sheet and one known dimension. Follow the first-takeoff guide, then expand after checking your initial measurements.
Your next takeoffstarts here.
Bring a drawing. Take it one sheet at a time.